While planning my trip to New Zealand and looking at the best things to do, it became more and more evident that bungy jumping was like a sport in New Zealand. It seemed there was a bungy jump in every city/town on my itinerary.
I’m the type of traveller who likes to fully experience all the unique activities and experiences that the country is known for.
With Queenstown on my itinerary and the number of different bungy jumps in Queenstown, there was no excuse not to do it.
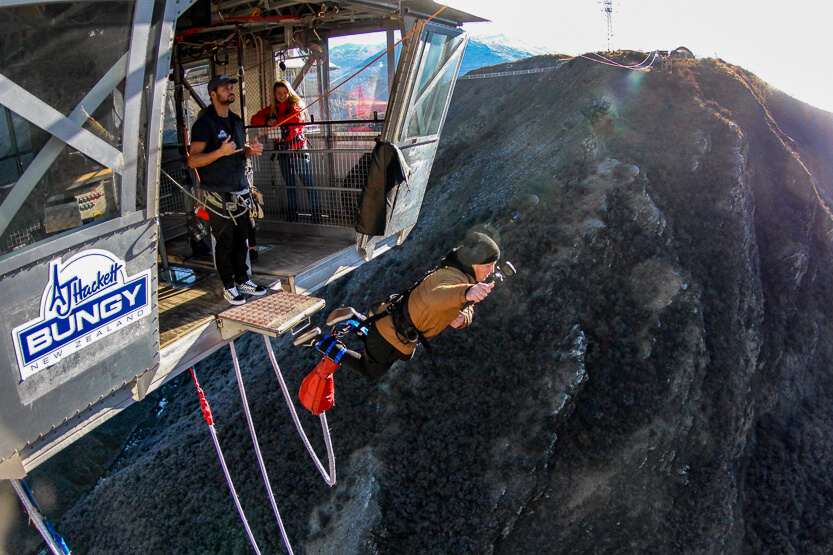
Upon researching the different jumps in Queenstown, I stumbled on The Nevis Bungy Jump—the biggest in New Zealand (134m)! I remember watching videos of fearless people free falling from some small platform in the middle of a mountain range.
Sure this looked absolutely crazy. My brain was telling me that this did not look like a fun/leisurely activity. It got me thinking, would I rather pass this opportunity and stay in my comfort zone? Or say f*ck it and be able to tick it off the list and look back and think . . . “yeah I did that”.
So I made the commitment to do the jump before leaving for New Zealand. I told family, friends and colleagues I was going to do it, this kept me accountable. I don’t like people who say what they are going to do, but never actually do it. With this in mind there was no turning back.
If you want to get the full New Zealand experience bungy jumping is a must. If you also have big cajones, read on because I’m going to discuss everything you need to know before taking on the Nevis.
Cost
The Nevis Bungy is definitely not a budget activity. But then again how often is it that you launch yourself into a 134m free fall? Not often I hope. This is one of those bucket list activities that is definitely worth saving some money in your budget for.
An adult ticket costs NZD $275—this does not include the photo/video set.
There are four different photo/video set options to choose from:
- Photo OR Video (Online or Printed) – This option cost an additional NZD $45 and includes your photos either online or in print form, or the video of your jump.
- Photo & Video Online – This option costs an additional NZD $80 and includes both your photo and videos in digital format.
- Photo & Video Online + Prints – This option costs an additional NZD $100 and includes your photos and videos which get delivered online, and hard copy prints.
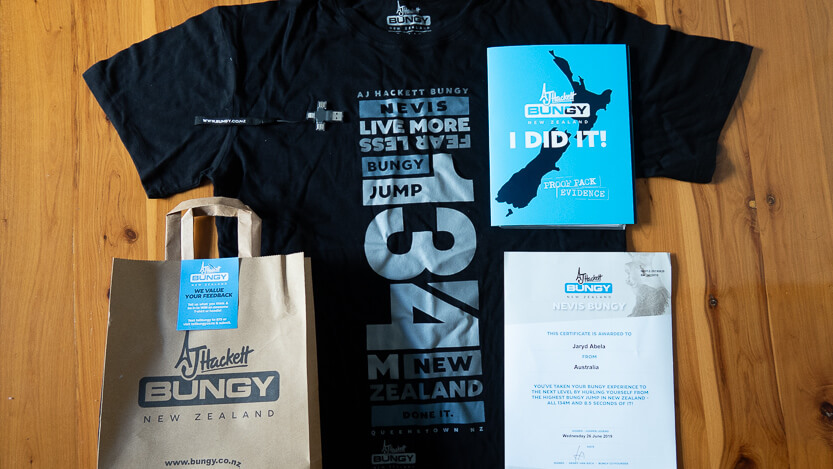
- Photo & Video + Prints on 5-way USB – This option cost an additional NZD $130 and includes your photos and videos stored on a 5-way USB, and hard copy prints.
I personally went with the most expensive option. I figured I may as well just spend the extra and get it all. Trust me, you don’t want to regret not having the video to show everyone how much of a bad-ass you are. Or not have the photos to share on Instagram to boost your ego.
If you have a friend who is a little b*tch, they can come along as a spectator and cheer you on for NZD $50.
They don’t say this on the website, but after you finish your first jump, for an extra NZD $79 you can do the jump again. I think this option is designed for crazy people.
Getting There
Getting to the Nevis Bungy Jump requires the “Bungy Bus”. The jump is on private property and the bus is the only way to get there. It departs from the Queenstown Bungy Centre located on the corner of Shotover and Camp Streets. You must check in 30 minutes before the bus leaves. The bus ride is return and is included with the price of your ticket.
What to Bring
- Camera/GoPro – I highly recommend bringing a GoPro to record your bungy experience from start to finish. Get one of those extendable stick mounts with a wrist strap. This will give you a unique perspective of your jump showing your facial expressions and capturing all your f bombs.
- Flat enclosed shoes – You might be in New Zealand but this doesn’t mean to rock up wearing your thongs, or flip flops, or jandals as they like to say in New Zealand.
- A bag of cement – Seriously you’re going to want to harden up.
Things to Know
- The Nevis is the highest bungy in New Zealand at 134m.
- Weight requirement: 45kg – 127kg
- Minimum age – 13
- Duration of activity – 4 hours
Process
- Check in at Queenstown Bungy Centre.
- Weigh yourself & fill out personal information.
- Take the Bungy Bus to the Nevis Bungy Jump base.
- Leave personal belongings in lockers.
- Get harnessed up by instructor.
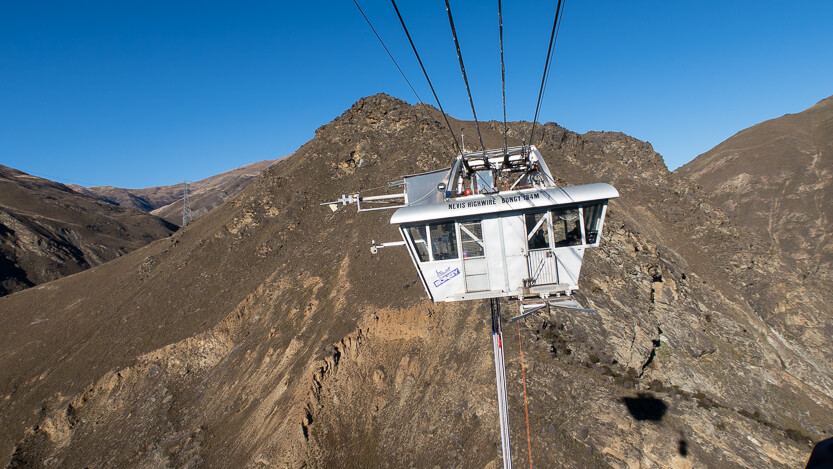
- Hop into cable car taking you to the jumping platform.
- Wait your turn, take a seat and get completely harnessed up and attached to bungy cord.
- Walk or shuffle in fear towards the edge of the jumping platform.
- Smile for the cameras.
- Jump! Or maybe after the sixth attempt.
- Say f*ck about 19 times while being reeled back up.
- Hop back into the cable car.
- Get your photos/videos and goodie bag.
- Take the bus back to the Bungy Centre.
- Show everyone how big your cajones are.
My Experience
The staff deserve a mention because they ensure you remain calm and confident from the check in at the Queenstown Bungy Centre, to the countdown—moments before you jump.
I loved the energetic atmosphere on the small platform you jump from. When I was there they were pumping Kendrick Lamar, and no it wasn’t the clean version.
Mindset
From the moment I booked the Nevis Bungy Jump to the moment I was harnessed for my jump. I managed to remain completely calm and nerve free. I thought to myself no amount of stressing or nervousness would make the jump any easier—it would only make it harder. Keeping this in mind allowed me to remain calm until moments before my jump.
Something to keep in mind—before you know it you will have completed the jump. Remember it is 8.5 seconds of your life. If you can do this, you can do a lot of things. Now that I have bungy jumped, skydiving doesn’t seem as scary as it once did.
Doing the Jump
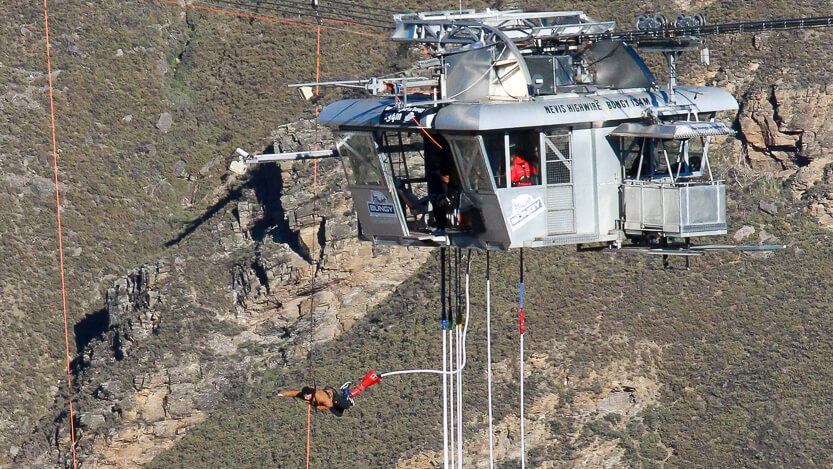
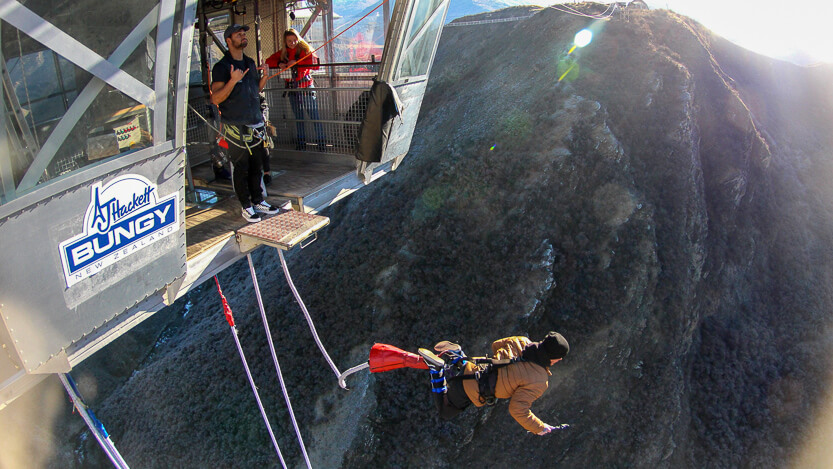
The one time the fear did creep in was the part when I approached the edge and looked down. It all became real and it registered in my brain that I was about to fall 134m from some tiny platform surrounded by mountains.
Once I was all harnessed up the instructor told me to walk to the edge of the platform. I shuffled like a penguin trying to remain composed as the instructor said “keep going”.
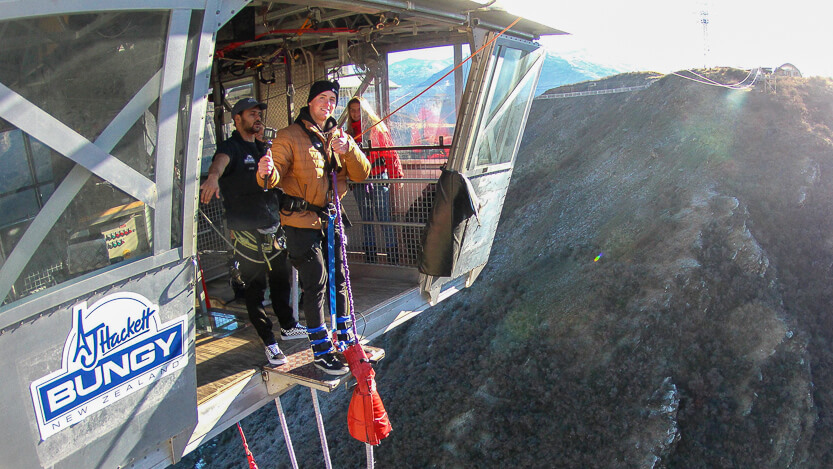
Once you reach the edge of the platform there are two cameras to pose for. This acts as a temporary distraction from the task ahead.
You see some people do these big, extravagant dives. For me doing the damn thing was enough of an achievement. So I just leaned forward and looked out at the mountains in the horizon.
The free fall lasts 8.5 seconds and if I had to describe the feeling, I would say it feels like you are falling—really damn fast. I didn’t get that feeling where your heart goes into your stomach. It’s hard to describe what was going through my head during that 8.5 second free fall.
It felt like it was the longest 8.5 seconds of my life but at the same time it feels like a blur.
Does It Hurt?
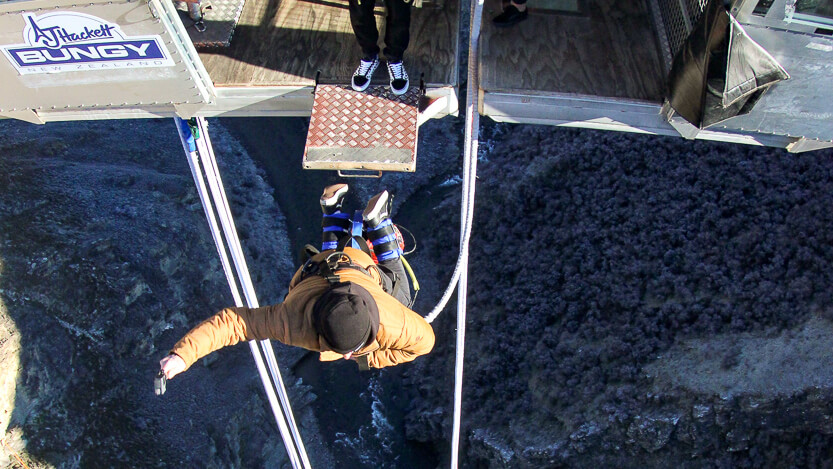
People have asked me if I felt any sort of impact or pain from the rebound part of the jump. From my experience you feel nothing. It is all a smooth process from the descent to when they reel you back up.
The Feels
Once you have finished the rapid descent towards the river all the emotions hit you. You experience the most intense adrenaline rush of your life. The feeling of accomplishment is on another level. You will likely swear a lot after completing your jump. Not in an angry way but more as a way of expressing the emotions flowing through your body.
There was this quote I read on the website for the Nevis Bungy, it went something like this: “crazy if you do it, crazy if you don’t”. This can’t be more true. This is one of those bucket list experiences you won’t regret doing but will probably regret not doing.
If there is a country to try bungy jumping it’s New Zealand. Maybe you want to ease into bungy jumping and not go straight to the biggest in New Zealand. That’s all good, remember there are plenty of smaller jumps throughout the country. But if you’re up for the challenge the Nevis is for you.


